Streamlit on Ilum - Spark Integration & Kubernetes Deployment
Streamlit is an open-source Python framework designed for building interactive data applications and dashboards with minimal effort. It enables data scientists and engineers to transform data scripts into shareable web applications in minutes, without requiring extensive knowledge of frontend frameworks like React or Vue.
In the context of Ilum, Streamlit serves as a powerful frontend layer for your Big Data infrastructure. It allows you to expose complex Apache Spark computations, real-time data streams, and machine learning models through a user-friendly interface, bridging the gap between raw data processing and business intelligence.
Architecture: Streamlit in a Cloud-Native Spark Ecosystem
When deployed within Ilum, Streamlit operates as a microservice inside your Kubernetes cluster. This architecture provides several technical advantages for data engineering workflows:
- Proximity to Data: Running within the same cluster as your Spark Executors minimizes latency when transferring large datasets for visualization.
- Unified Security: The application enables seamless integration with internal network policies and RBAC controls.
- Scalability: Kubernetes handles the orchestration, ensuring your dashboard remains available even under load.
Integration Patterns
Since Streamlit is Python-based, it offers flexible integration points with the Ilum ecosystem. Below are the primary architectural patterns for connecting your dashboard to your data infrastructure.
1. Spark Connect Integration
This is the most powerful integration method. By using Spark Connect, your Streamlit app acts as a client that submits DataFrame operations directly to the Ilum Spark Cluster. This decouples the client (Streamlit) from the heavy processing (Spark Executors).
import streamlit as st
from pyspark.sql import SparkSession

@st.cache_resource
def get_spark_session():
    return SparkSession.builder \
        .remote("sc://spark-connect-service:15002") \
        .getOrCreate()

spark = get_spark_session()

st.subheader("Big Data Query")
# This operation runs on the Spark Cluster, not the Streamlit pod
df = spark.sql("SELECT category, count(*) as count FROM sales GROUP BY category")
st.bar_chart(df.toPandas())
2. Ilum Public API Control Plane
You can use Streamlit to build a custom "Job Launcher" or "Control Plane". Instead of processing data, the app sends HTTP requests to Ilum's API to trigger asynchronous jobs, manage schedules, or retrieve execution logs.
import streamlit as st
import requests

ILUM_API = "http://ilum-api-service:8080"

def trigger_job(job_name, params):
    response = requests.post(
        f"{ILUM_API}/api/v1/jobs/{job_name}/launch",
        json=params
    )
    return response.status_code == 200

if st.button("Start ETL Pipeline"):
    success = trigger_job("nightly-batch", {"date": "2023-10-27"})
    if success:
        st.success("Pipeline triggered successfully!")
3. JDBC/ODBC for Data Lake Analytics
For low-latency queries on Delta Lake, Iceberg, or Hudi tables, you can connect Streamlit to Ilum SQL using standard JDBC drivers. This allows you to treat your data lake as a standard relational database.
4. Livy Proxy Execution
For scenarios requiring dynamic code submission, Streamlit can post code snippets to the Livy Proxy. This is useful for building "Notebook-like" interfaces where users can submit custom logic to be executed on the cluster.
Developing High-Performance Data Apps
Streamlit is favored for quick prototyping and exploratory data analysis (EDA) because of its declarative API. Below are the core concepts and best practices for building scalable apps in Ilum.
1. Basic Application Structure
You can install the framework using Python’s package manager: pip install streamlit.
A minimal valid application requires just a few lines of code. Save this as app.py:
import streamlit as st

st.title("Hello Ilum!")
st.write("This is a Streamlit app running on a Kubernetes cluster.")
Run it locally to test:
streamlit run app.py
Output preview:

2. Visualizing Dataframes
Streamlit’s strength comes from its deep integration with the PyData stack (Pandas, NumPy, Arrow). It natively renders interactive charts.
import streamlit as st
import pandas as pd
import numpy as np

# Generate sample data
chart_data = pd.DataFrame(
    np.random.randn(20, 3),
    columns=['a', 'b', 'c']
)

st.header("Interactive Data Visualization")
st.line_chart(chart_data)
Result:
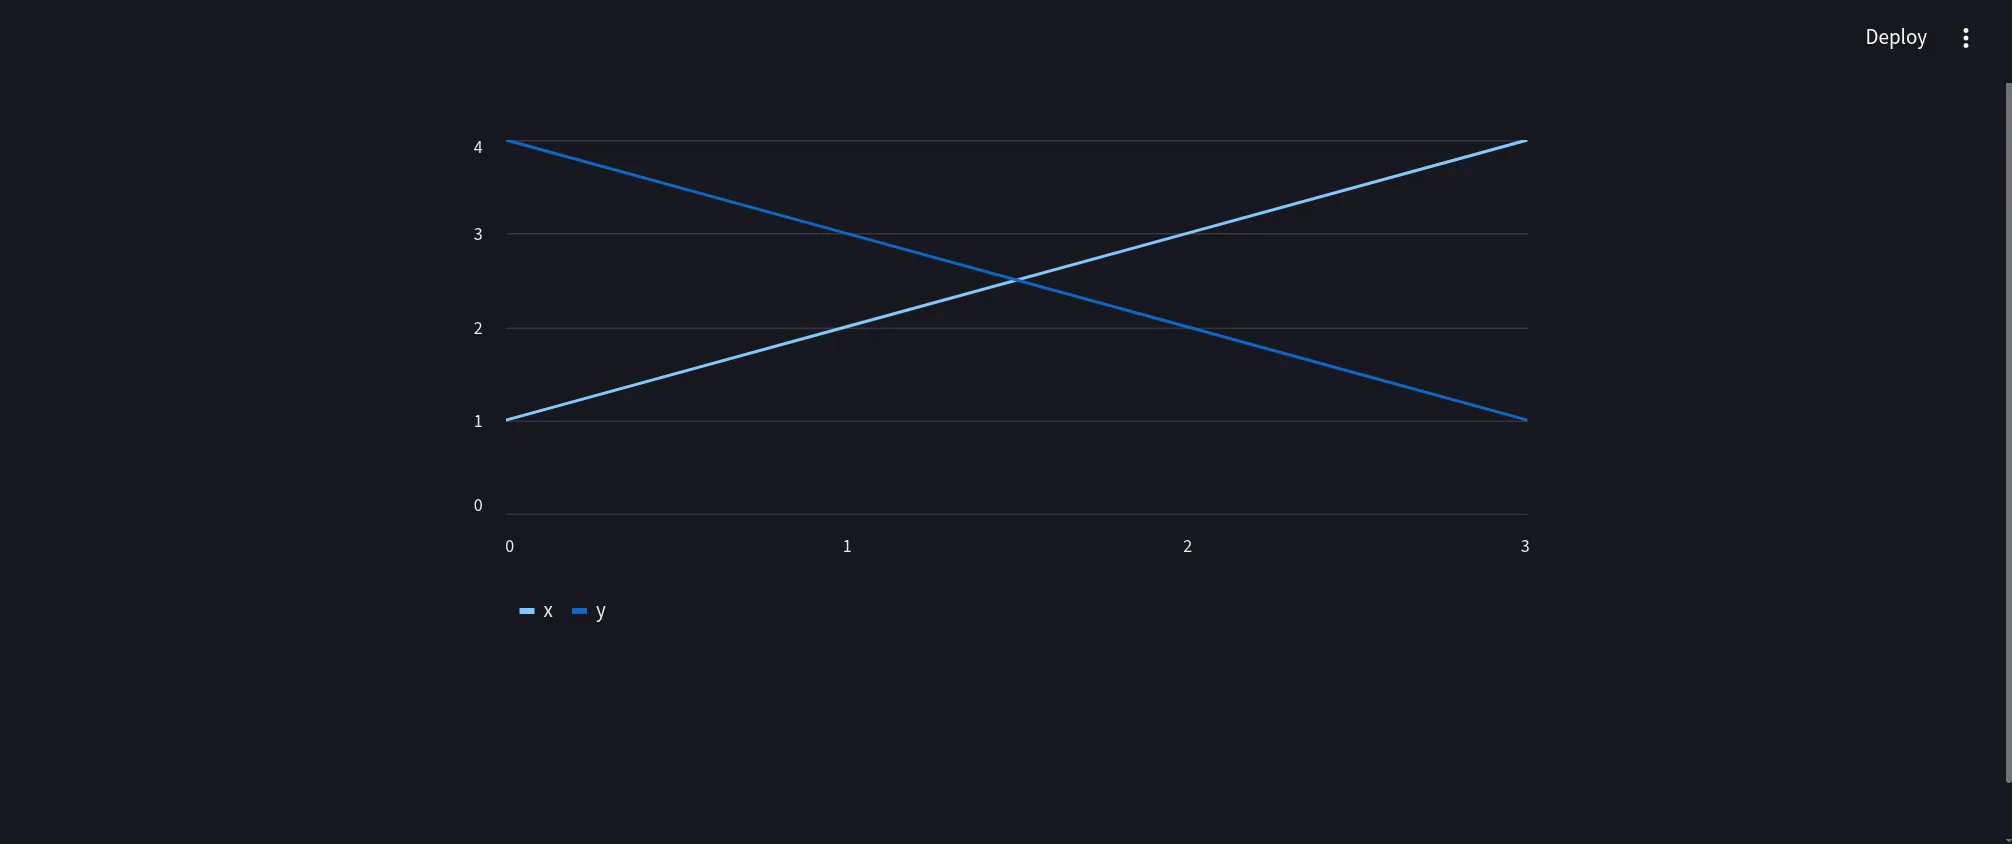 The displayed chart is fully interactive. Users can zoom, pan, and inspect individual data points.
3. Advanced Component Usage
For enterprise dashboards, you will likely need input widgets to filter data or trigger jobs.
import streamlit as st
import pandas as pd
import numpy as np
import time
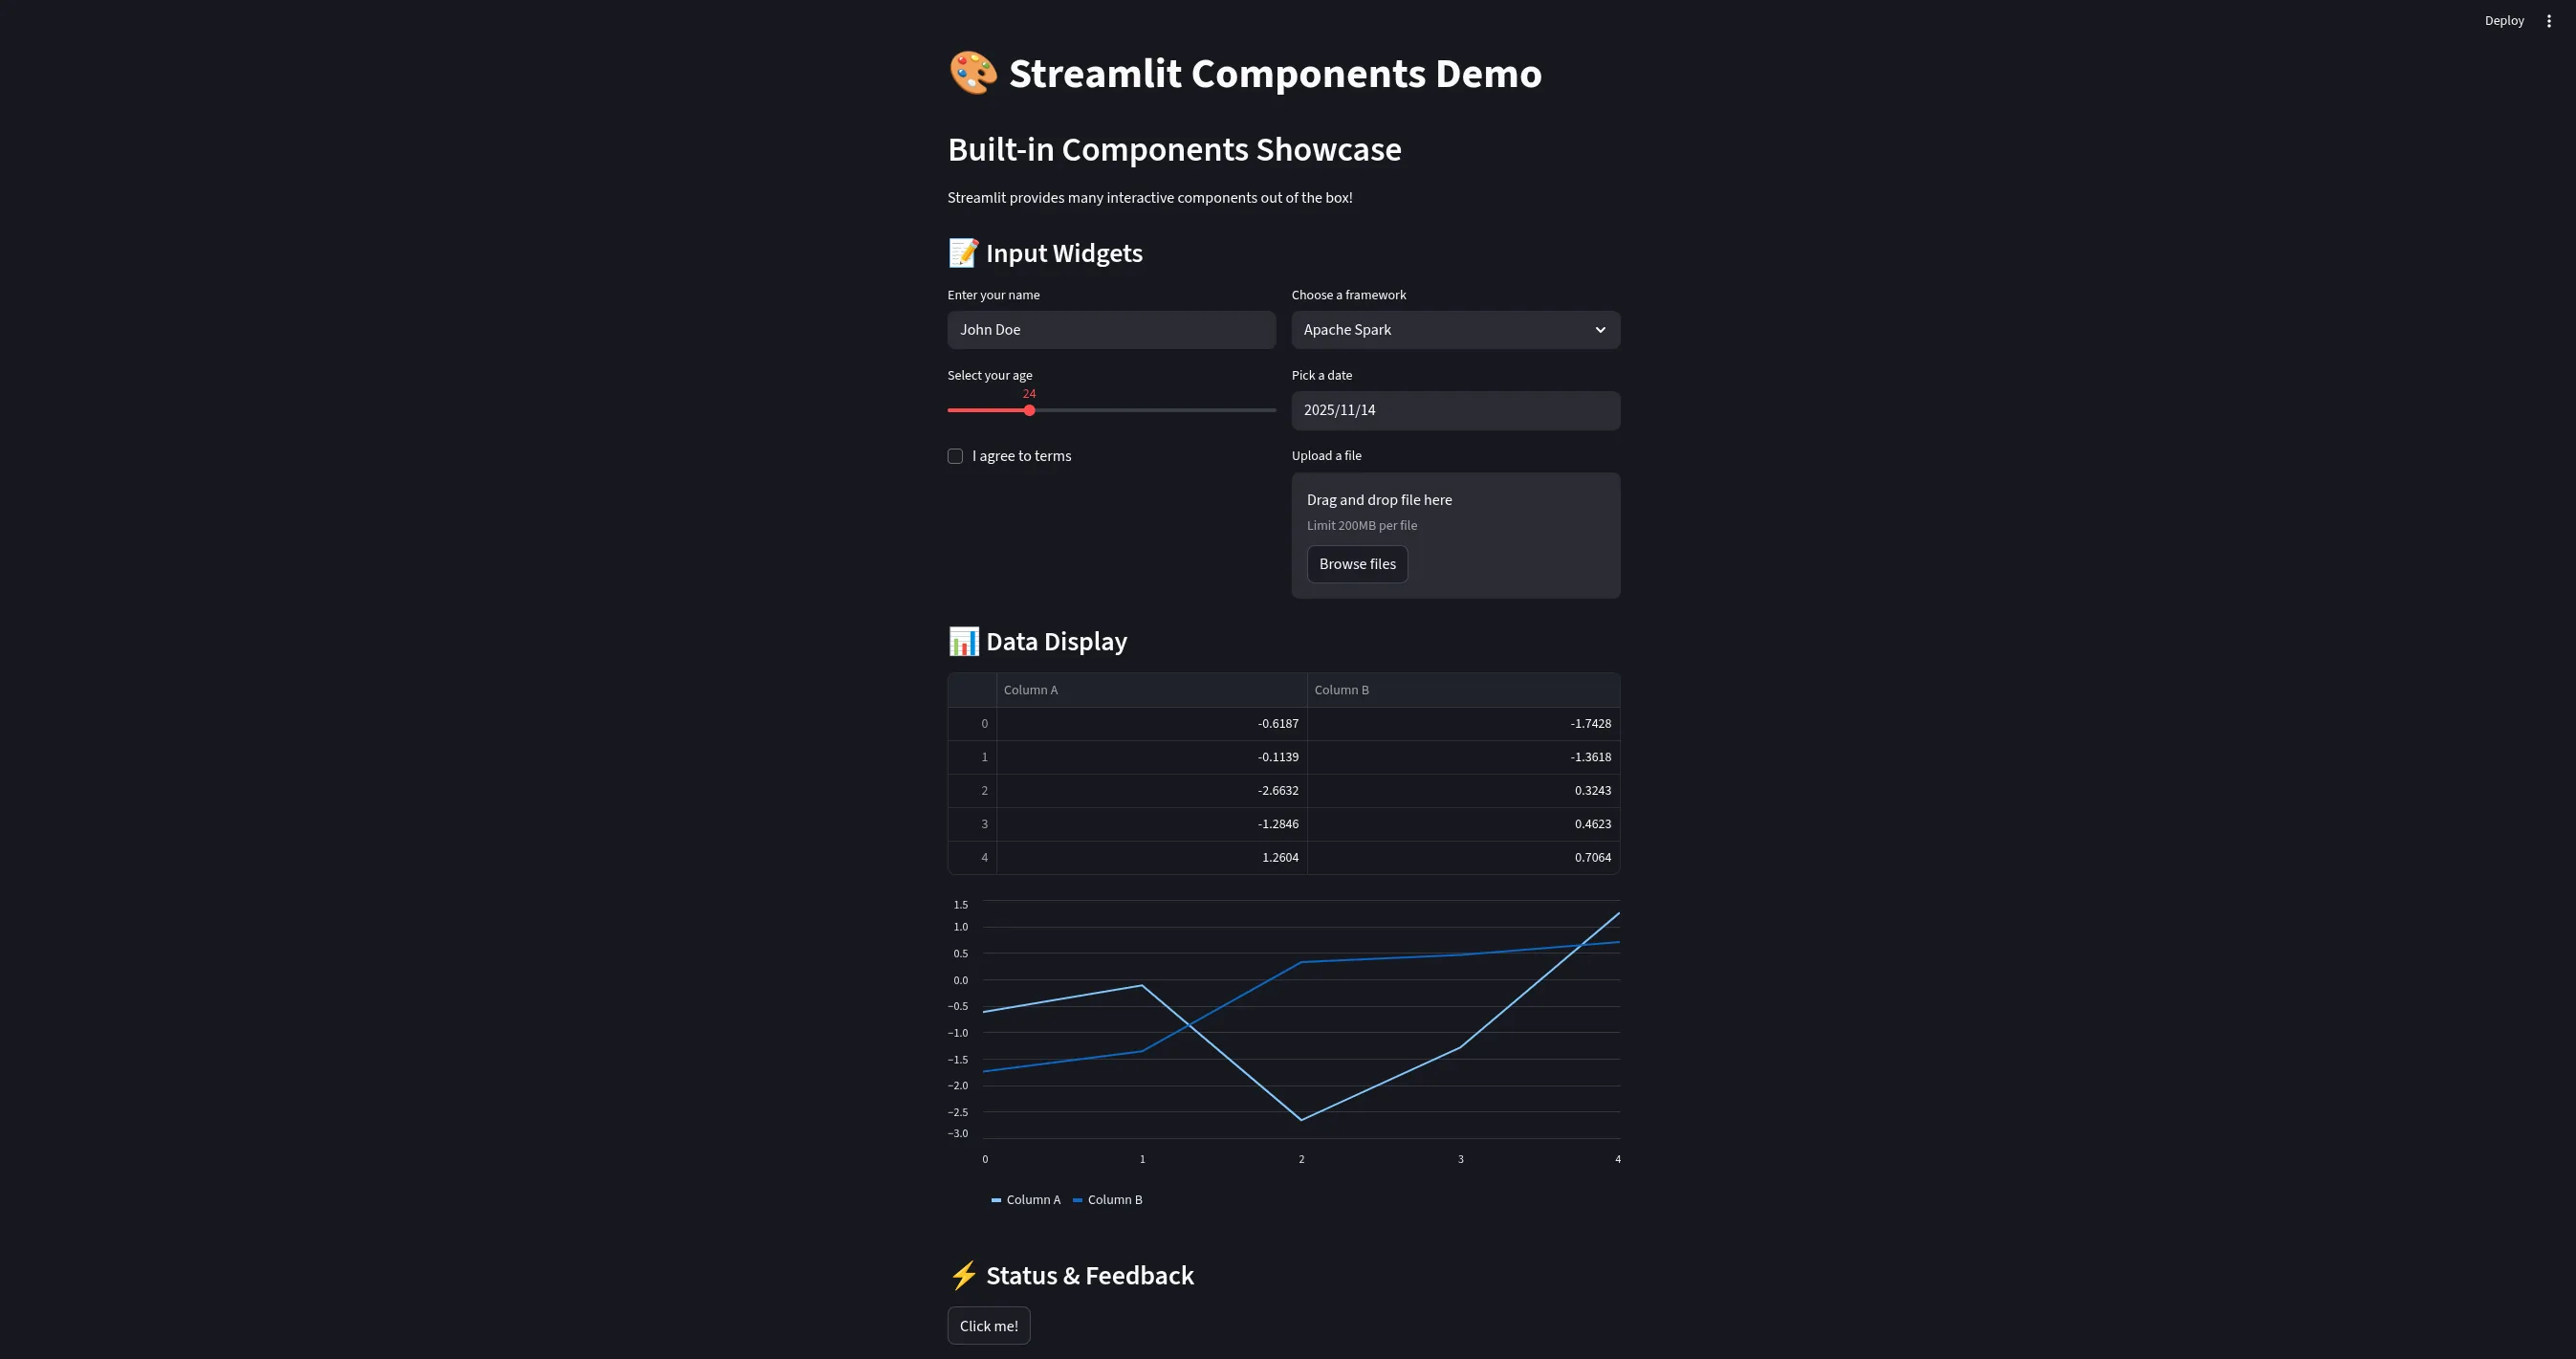
# Title and layout configuration
st.set_page_config(page_title="Ilum Dashboard", layout="wide")
st.title("🎨 Ilum Control Panel")
st.markdown("### Monitor and control your Spark workloads")
# Input widgets in a sidebar
with st.sidebar:
st.header("Configuration")
environment = st.selectbox(
"Select Environment", ["Production", "Staging", "Development"]
)
job_timeout = st.slider("Job Timeout (seconds)", 60, 3600, 600)
enable_logs = st.checkbox("Show Verbose Logs", value=True)
# Main layout columns
col1, col2 = st.columns(2)
with col1:
st.subheader("📝 Job Parameters")
job_name = st.text_input("Job Name", "daily_etl_process")
upload_config = st.file_uploader("Upload Configuration (JSON/YAML)")
with col2:
st.subheader("📊 Resource Usage")
# Simulating data for display
metrics = pd.DataFrame({
"CPU Usage": np.random.uniform(20, 80, 10),
"Memory Usage": np.random.uniform(40, 90, 10)
})
st.area_chart(metrics)
# Action Buttons and Feedback
st.divider()
if st.button("🚀 Trigger Spark Job", type="primary"):
with st.spinner("Submitting job to Ilum Scheduler..."):
time.sleep(1.5) # Simulate API call latency
st.success(f"Job **{job_name}** started successfully in {environment}!")
st.info("Job ID: `spark-job-12345-xyz`")
The resulting UI provides a professional control interface:
4. Performance Optimization: Caching and State
When working with Big Data, efficiency is critical. Streamlit provides mechanisms to manage computational resources effectively.
Caching Strategies
Use @st.cache_data for serializable data objects (like Pandas DataFrames) and @st.cache_resource for connections (like Spark Sessions or Database connections).
@st.cache_data(ttl=3600)  # Cache data for 1 hour
def get_large_dataset():
    # This expensive operation runs only once per hour
    # independent of how many users view the app
    return pd.read_parquet("s3://my-data-lake/heavy-table/")

df = get_large_dataset()
st.dataframe(df)
Session State
For multi-step workflows (e.g., a wizard for submitting a Spark job), use st.session_state to persist variables across re-runs.
if 'job_id' not in st.session_state:
    st.session_state.job_id = None

if st.button("Submit"):
    st.session_state.job_id = submit_spark_job()

if st.session_state.job_id:
    st.write(f"Tracking job: {st.session_state.job_id}")
Production Deployment in Ilum
Transitioning from a local script to a production service involves containerizing the application and configuring the Kubernetes deployment manifest.
1. Docker Containerization
Create a optimized Dockerfile that includes your application code and dependencies.
# Use a slim python image to reduce attack surface and image size
FROM python:3.11-slim

# Set working directory
WORKDIR /app

# Install system dependencies if needed (e.g., for pyodbc or specialized libraries)
# RUN apt-get update && apt-get install -y gcc

# Copy requirements first to leverage Docker layer caching
COPY requirements.txt .
RUN pip install --no-cache-dir -r requirements.txt

# Copy application code
COPY streamlit_app.py .
COPY .streamlit/ .streamlit/

# Expose the default Streamlit port
EXPOSE 8501

# Healthcheck to ensure the container is responsive
HEALTHCHECK CMD curl --fail http://localhost:8501/_stcore/health

# Run the application
ENTRYPOINT ["streamlit", "run", "streamlit_app.py", "--server.port=8501", "--server.address=0.0.0.0"]
2. Helm Configuration
To deploy your container within the Ilum stack, update your Helm values. This configuration allows you to define resource quotas, ensuring your dashboard doesn't consume excessive cluster resources.
streamlit:
  enabled: true

  image:
    repository: my-registry/ilum-dashboard
    tag: v1.0.0
    pullPolicy: Always

  # Define resource limits to guarantee stability
  resources:
    requests:
      cpu: 500m
      memory: 512Mi
    limits:
      cpu: 2000m
      memory: 2Gi

  # Environment variables for application configuration
  env:
    - name: SPARK_MASTER_URL
      value: "k8s://https://kubernetes.default.svc"
    - name: ILUM_API_URL
      value: "http://ilum-api-service:8080"
3. Troubleshooting & Observability
If your Streamlit application fails to connect to Spark or Ilum services, check the following:
- Network Policies: Ensure your Kubernetes NetworkPolicies allow traffic from the Streamlit namespace to the Spark namespace.
- Service DNS: Use the fully qualified domain name (FQDN) for internal services, e.g.,
spark-connect-service.ilum.svc.cluster.local. - Logs: Retrieve application logs using
kubectl logs -l app=streamlit -n ilumto debug Python exceptions or connection timeouts.
Once deployed, Ilum manages the lifecycle of the Streamlit pod, ensuring your interactive data applications are always accessible to your team.