Apache NiFi Integration with Spark
Apache NiFi is an enterprise-grade, open-source platform designed to automate the flow of data between disparate systems. It leverages a flow-based programming model, providing a highly configurable, visual interface for data routing, transformation, and system mediation.
When integrated with Ilum, NiFi acts as the orchestration layer, responsible for data ingestion and event triggering, while Ilum serves as the compute layer, executing heavy-duty Apache Spark jobs. This separation of concerns allows for highly scalable, event-driven architectures where data arrival or specific system events automatically trigger distributed processing tasks.
Architecture Overview
In a typical production deployment, the integration follows an Event-Driven Architecture (EDA) pattern:
- Data Ingestion: NiFi monitors external sources (S3, Kafka, FTP, HTTP) for new data.
- Event Detection: Upon detecting new data (e.g., a file landing in an Object Storage bucket), NiFi generates a FlowFile representing this event.
- Payload Construction: NiFi transforms the event attributes into a JSON payload compatible with Ilum's REST API.
- Job Submission: NiFi submits the job request to the Ilum Core API (
/api/v1/group/{groupID}/job/execute). - Execution: Ilum schedules and executes the Spark job on the cluster.
Prerequisites
Before implementing the pipeline, ensure the following technical requirements are met:
- Ilum Core: A running instance of Ilum Core (v4.0+ recommended).
- Apache NiFi: A deployed NiFi instance (v1.15+ recommended) with network connectivity to Ilum Core.
- Network Access:
- Connectivity from the NiFi environment to the Ilum Core service API (default port
9888). - Connectivity from NiFi to the Object Storage (e.g., MinIO/S3).
- Connectivity from the NiFi environment to the Ilum Core service API (default port
- Service Accounts: Credentials for accessing the S3/MinIO buckets (Access Key & Secret Key).
To learn how to enable the bundled NiFi deployment within the Ilum stack, refer to the Production Deployment Guide.
Phase 1: Configuring Data Ingestion (NiFi & MinIO)
This section details configuring NiFi to monitor an S3-compatible object storage (MinIO) for incoming files. This setup creates the trigger for our event-driven pipeline.
1. Create a Controller Service for AWS Credentials
Controller Services provide shared resources for processors. We will use the AWSCredentialsProviderControllerService to manage authentication securely.
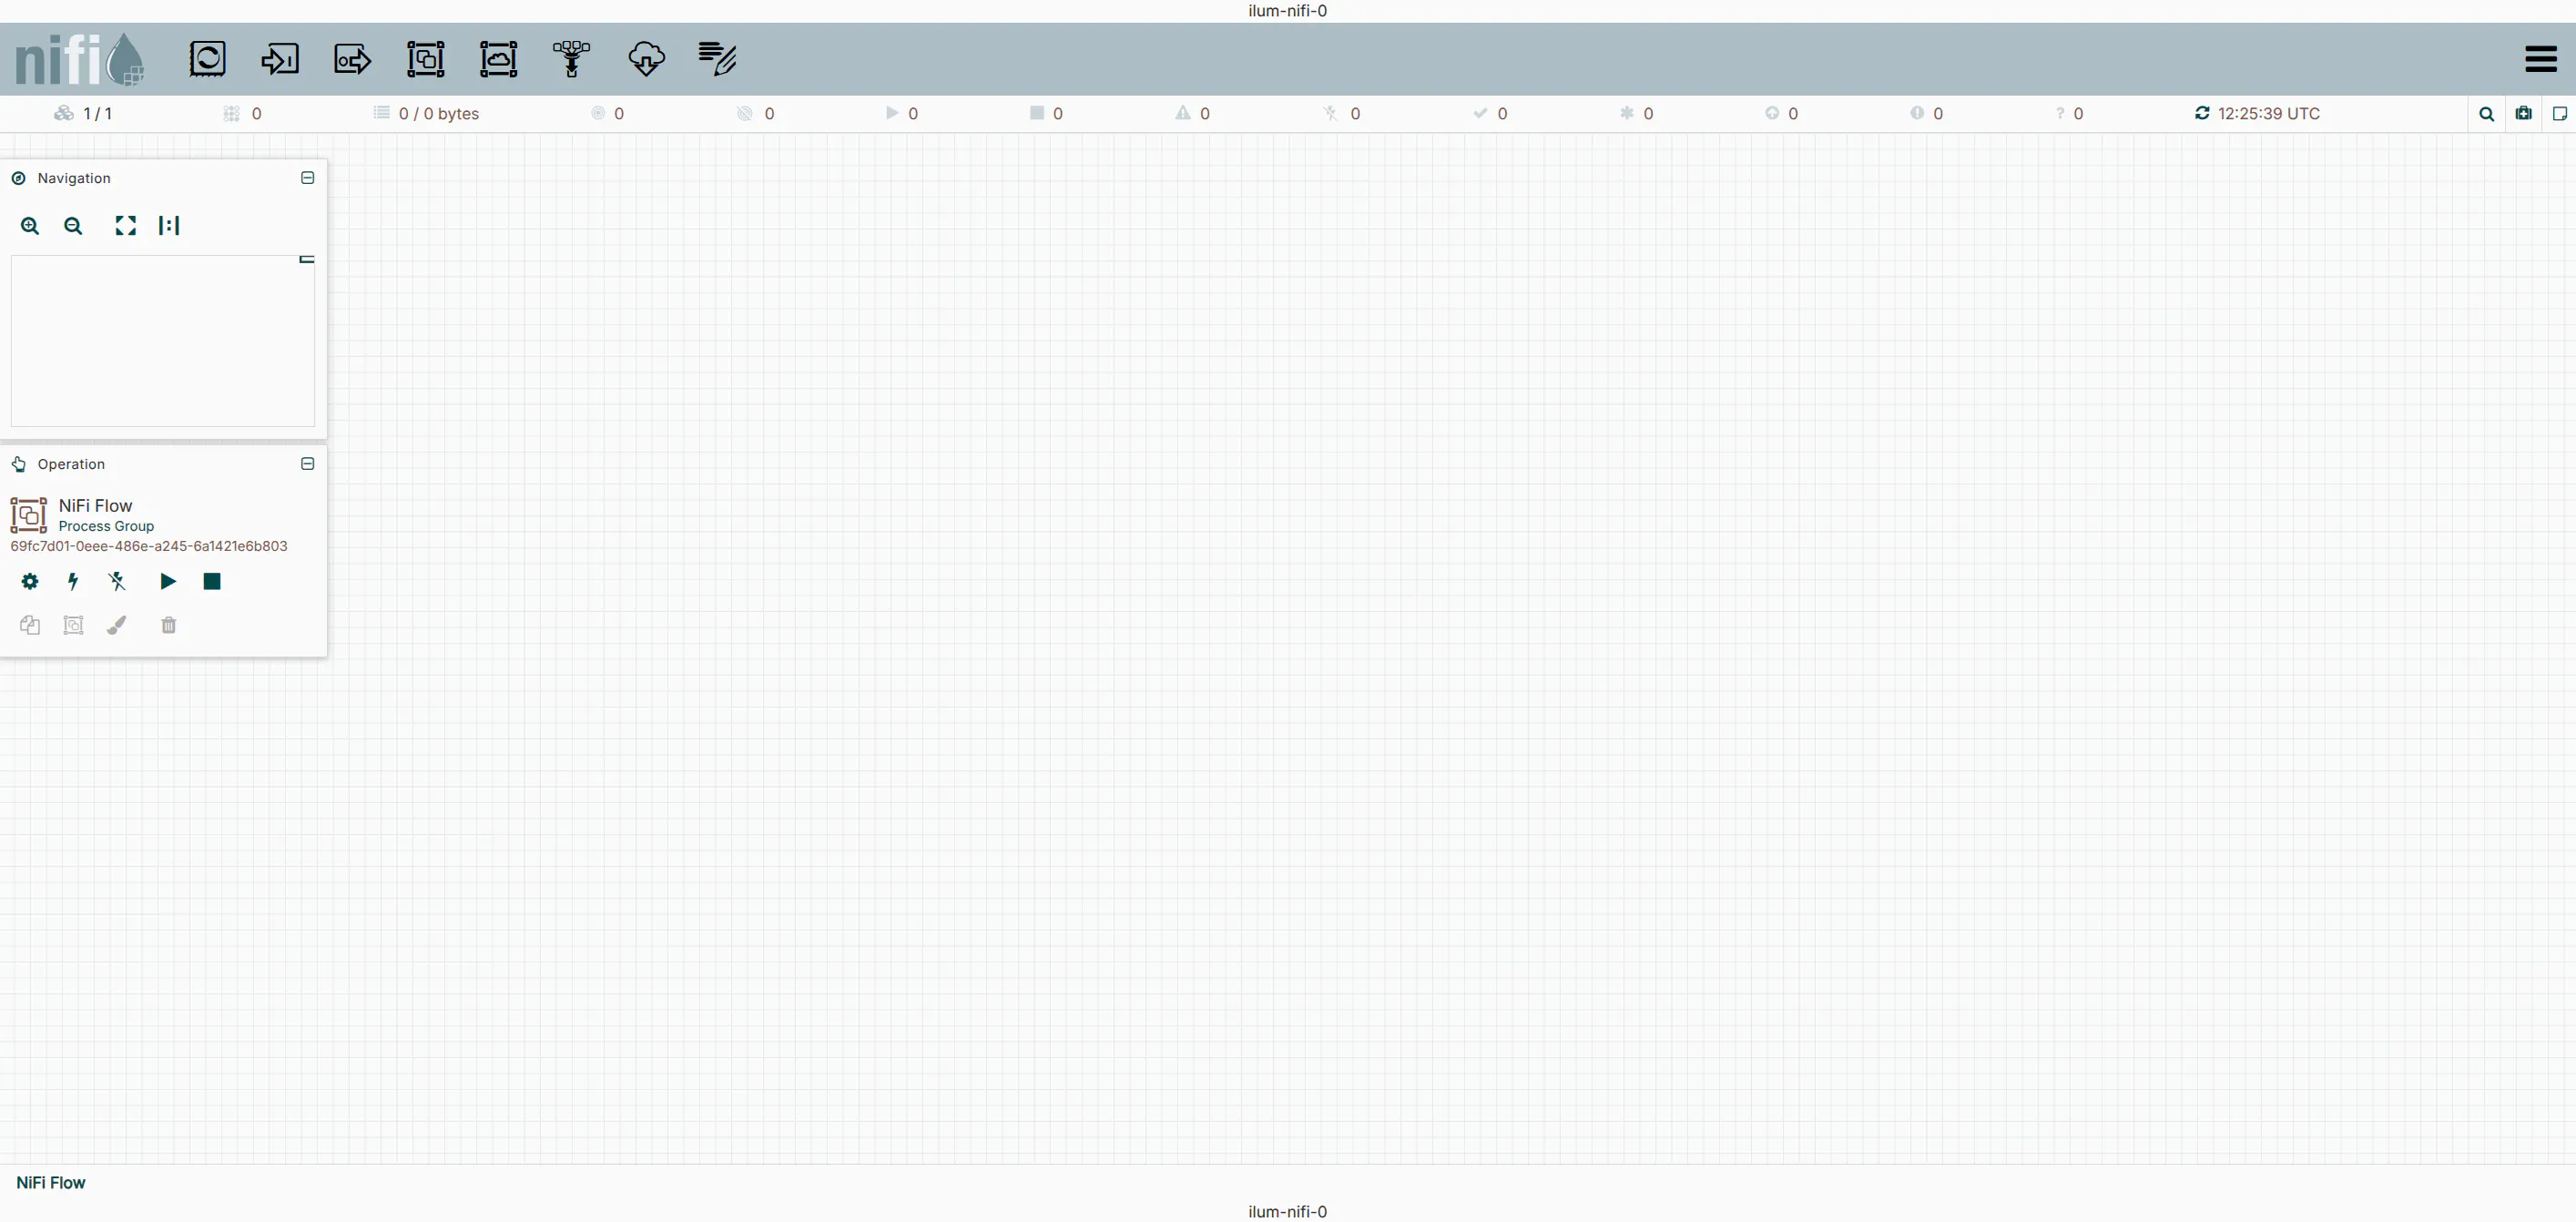
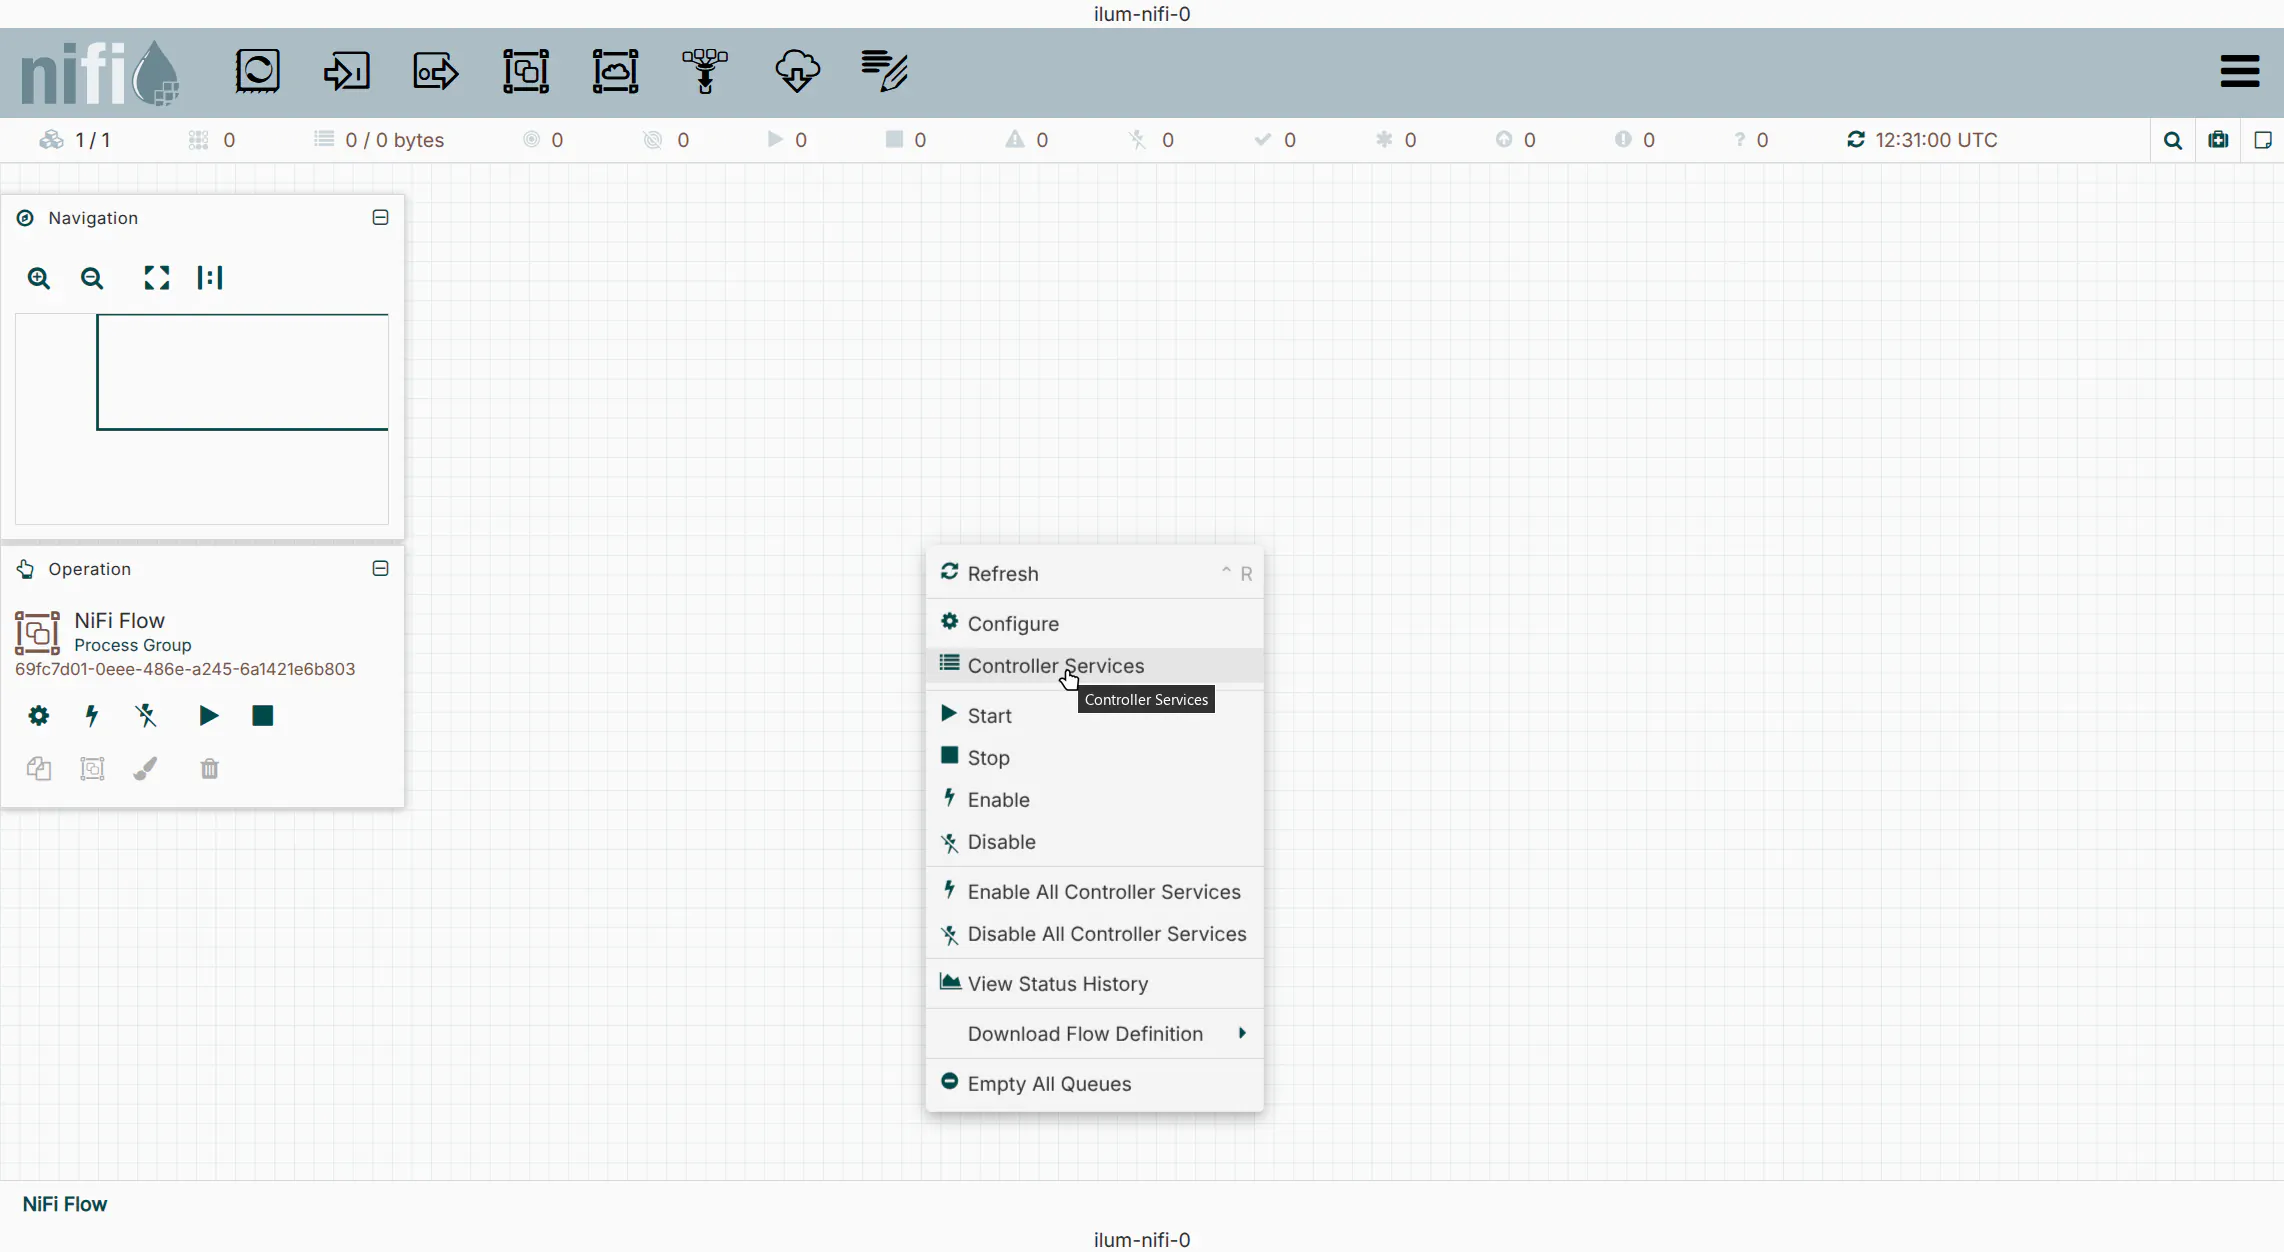
- Right-click on the NiFi canvas and select
Controller Services. - Click the
+icon and search forAWSCredentialsProviderControllerService. - Click
Add.
2. Configure Credentials
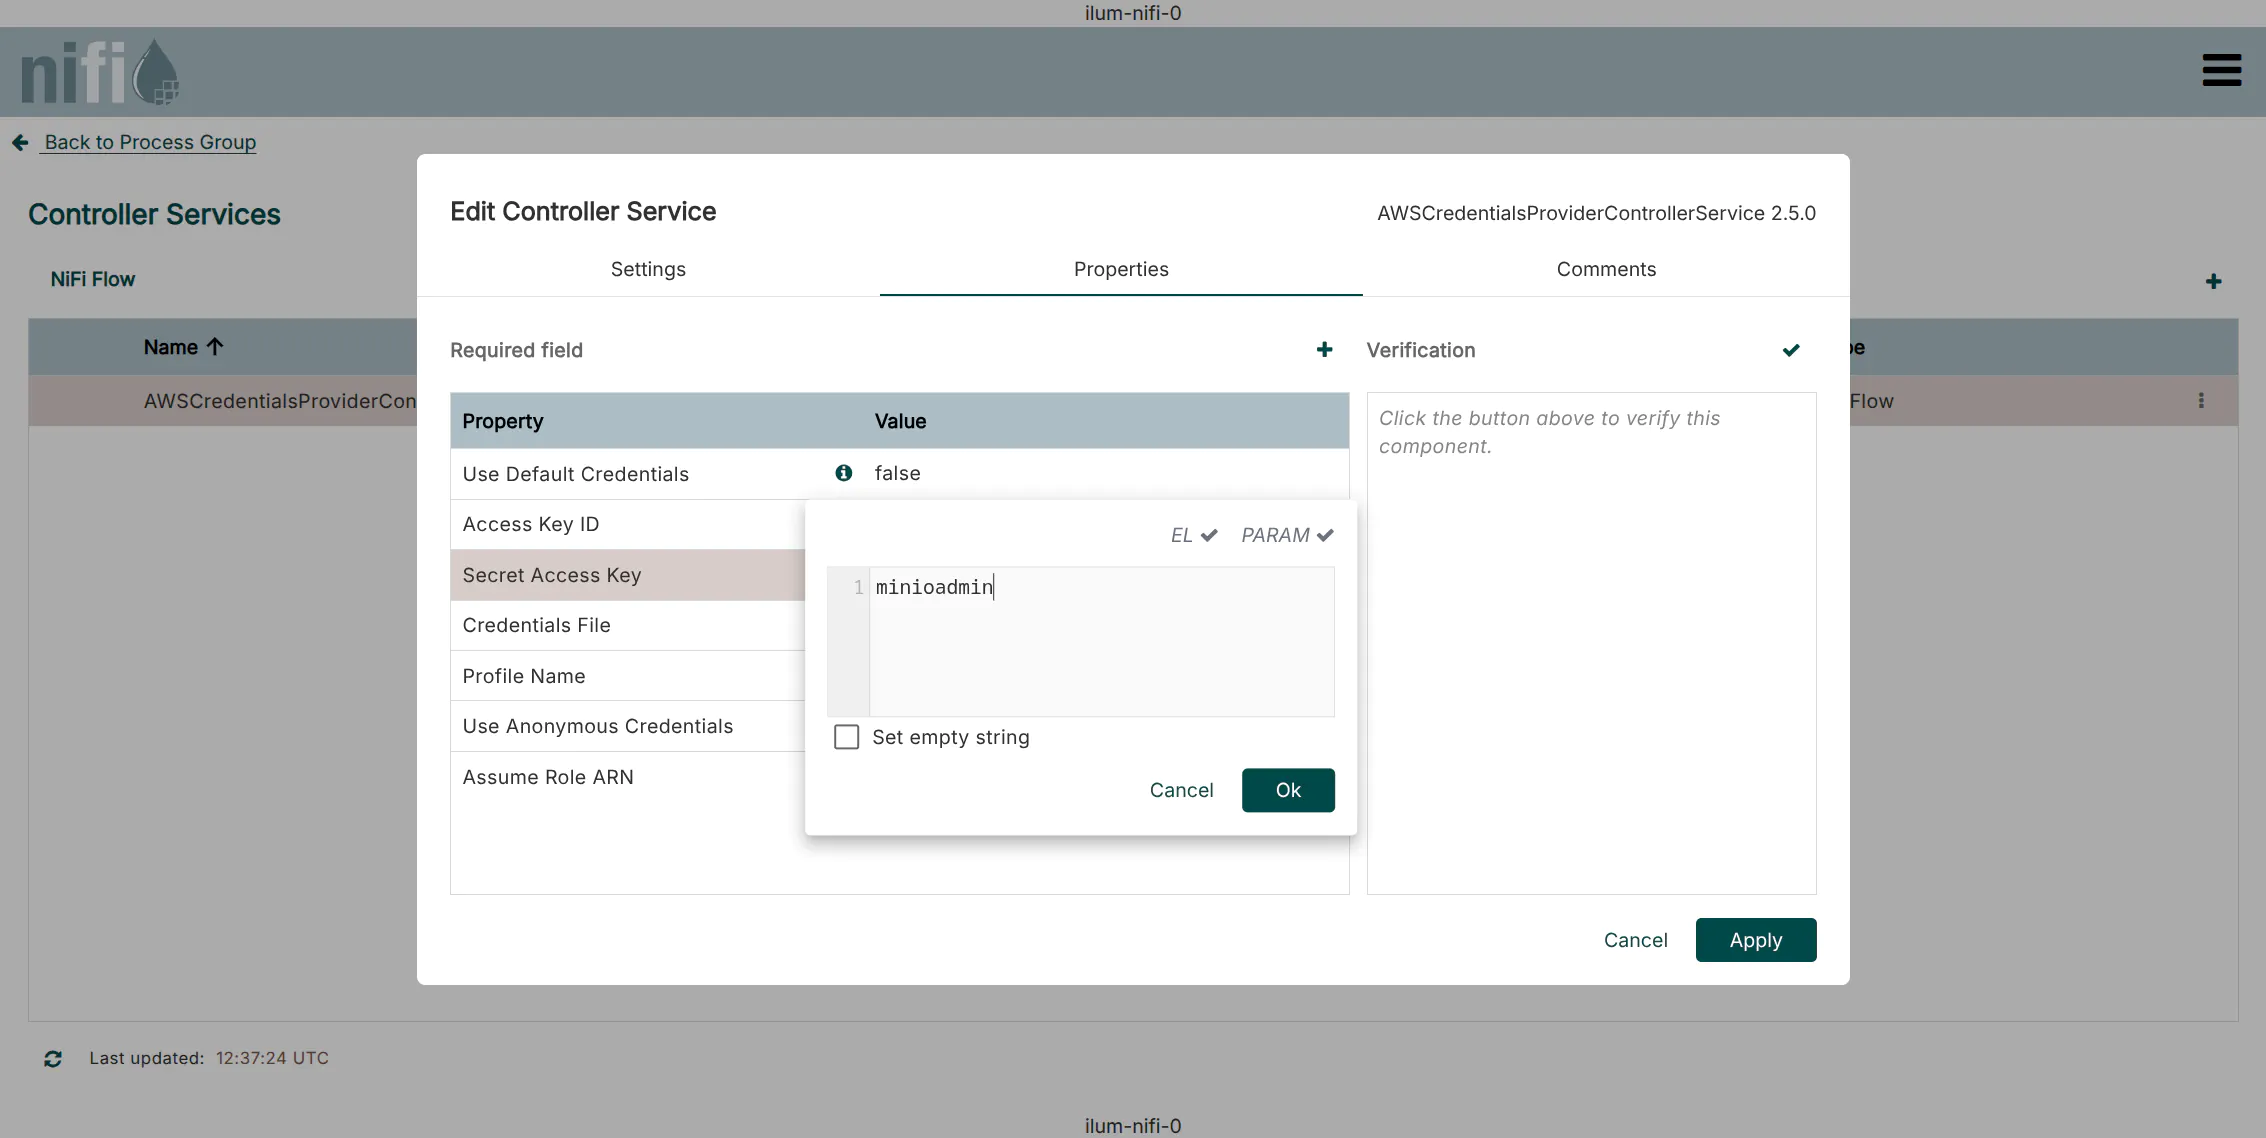
- Click the
Editicon (pencil) next to the new service. - Navigate to the
Propertiestab. - Enter your Access Key ID and Secret Access Key.
- Default Ilum MinIO credentials:
minioadmin/minioadmin
- Default Ilum MinIO credentials:
- Click
Apply.
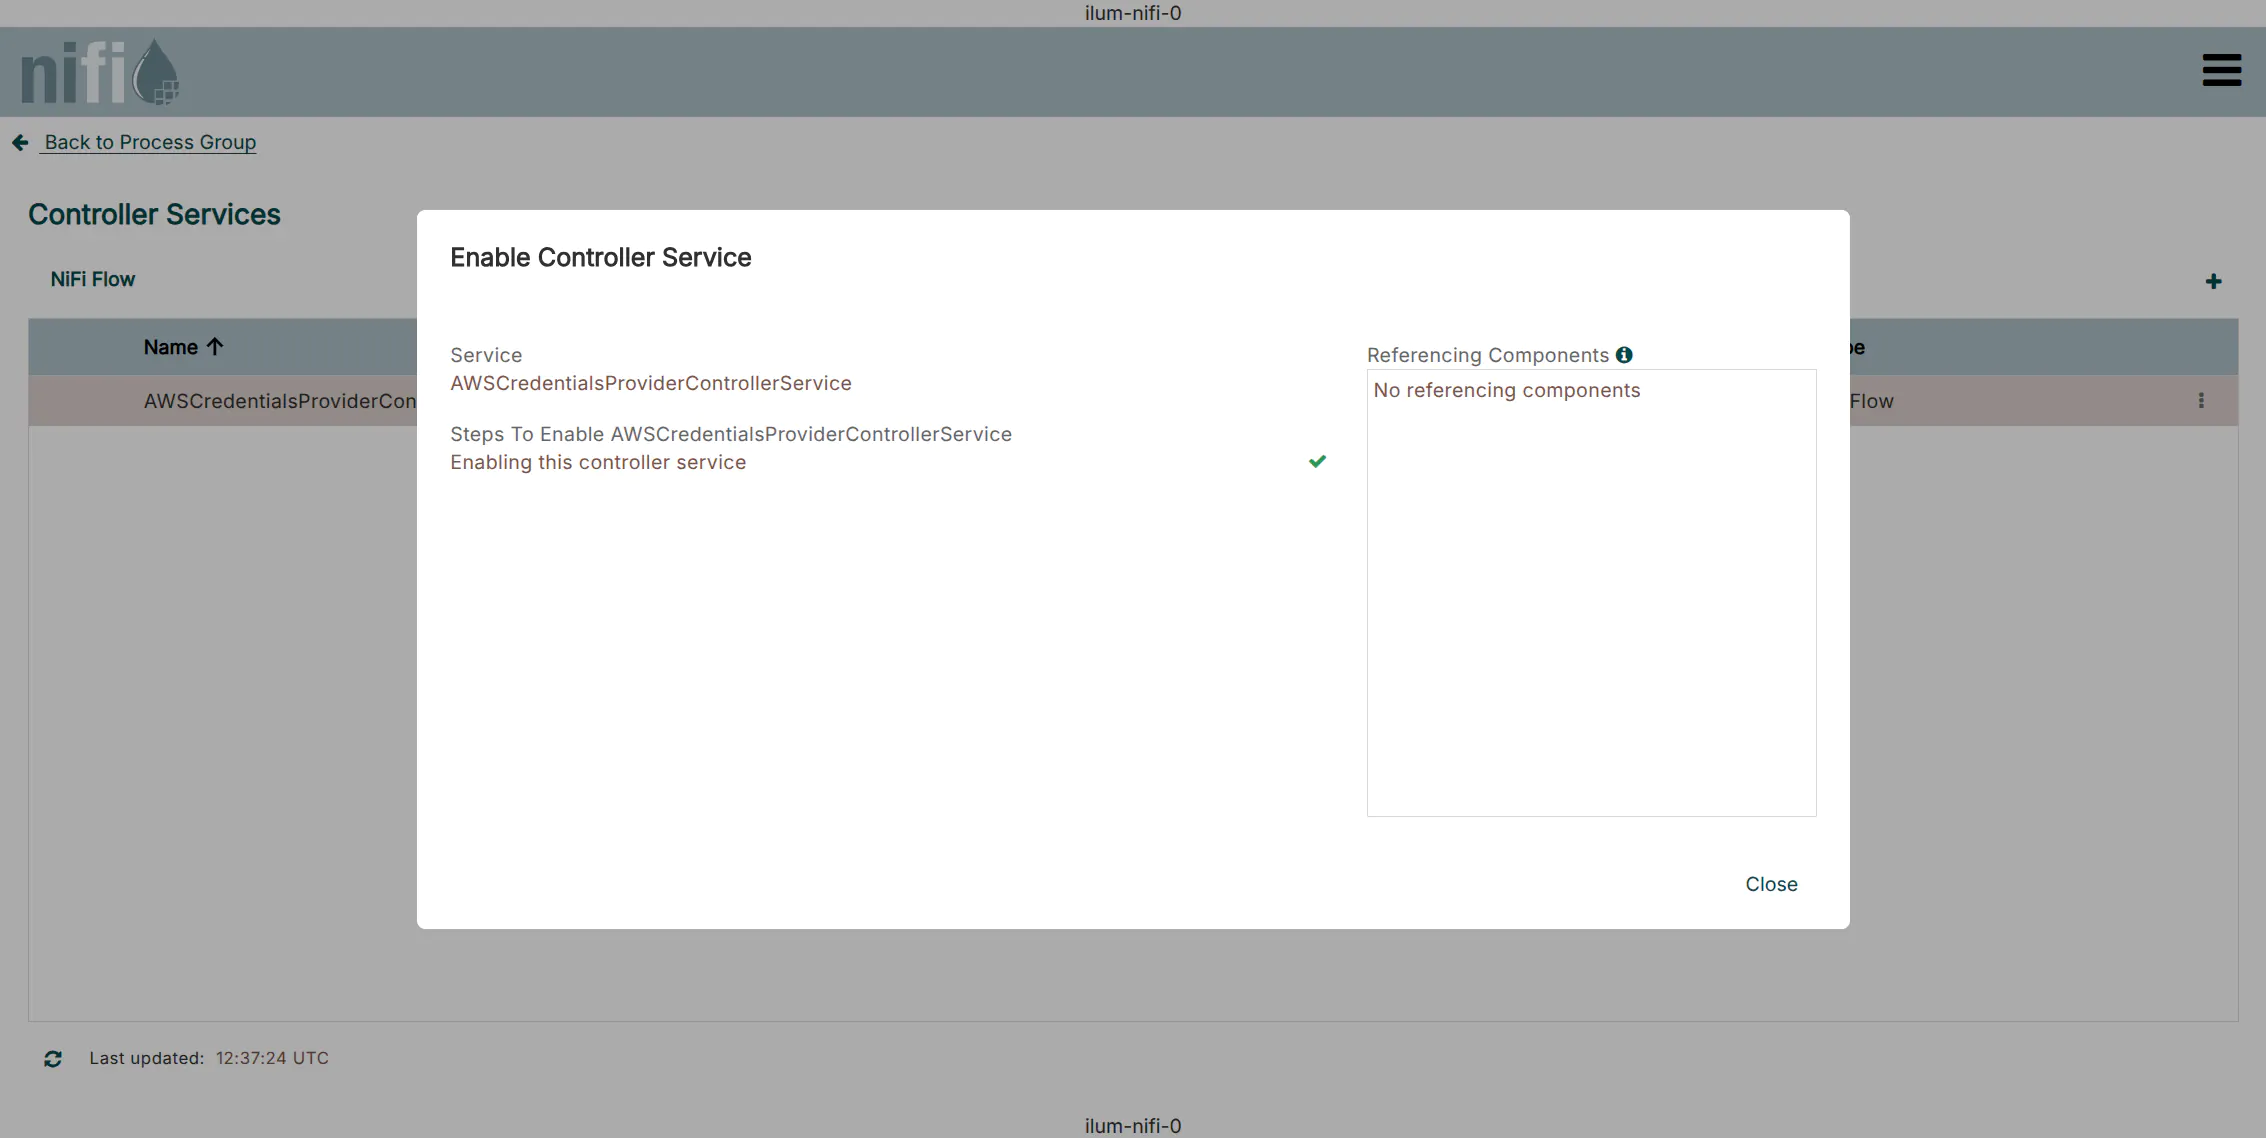
3. Enable the Service
Click the Enable icon (lightning bolt) to start the service. Ensure the status changes to Enabled.
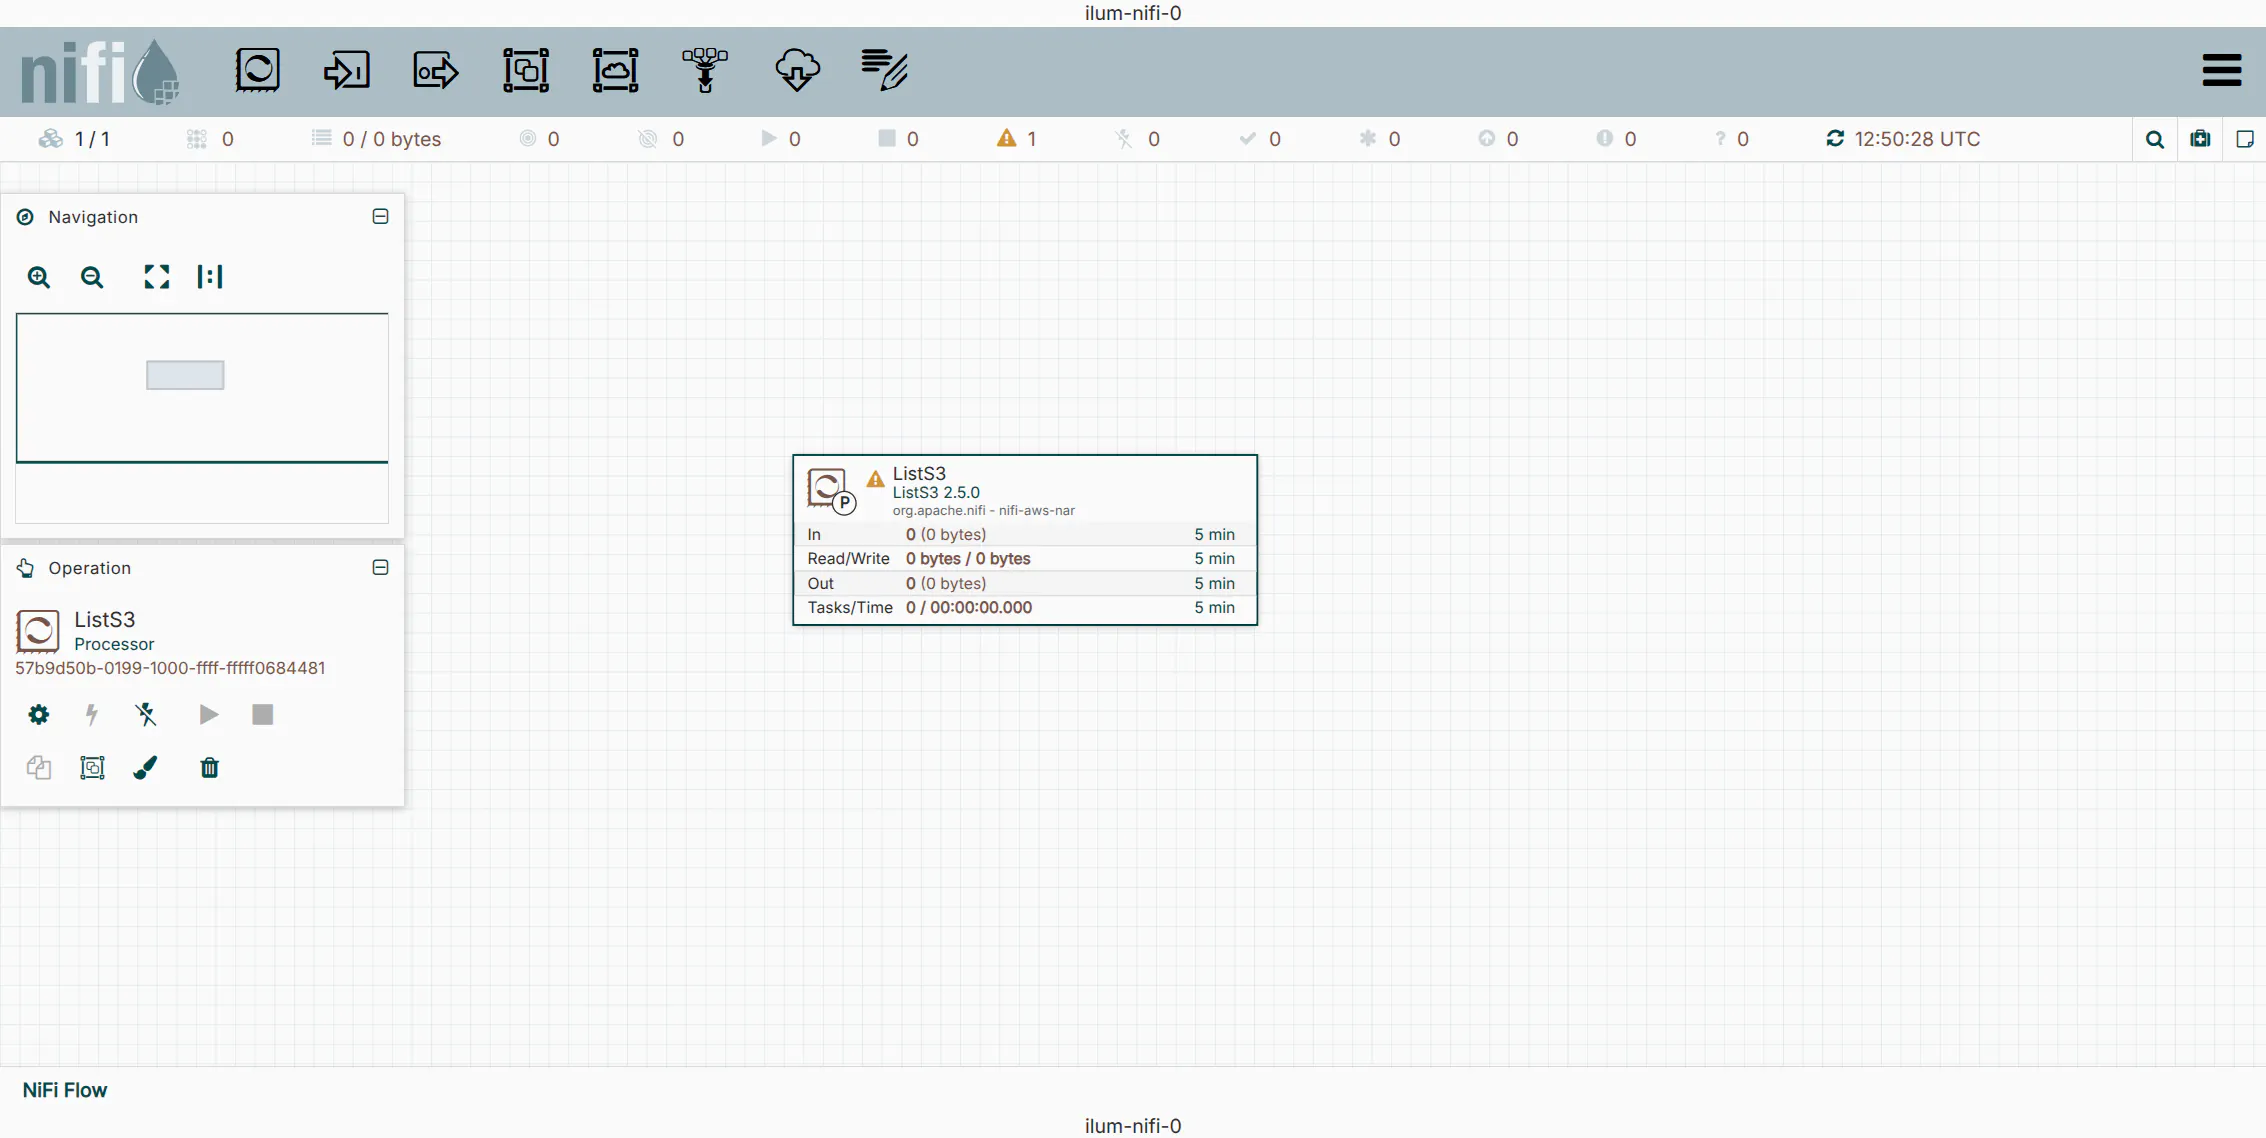
4. Add the ListS3 Processor
The ListS3 processor is designed to monitor a bucket and emit a FlowFile for each object found. Unlike GetS3, it does not fetch the content, only the metadata, making it highly efficient for triggering downstream jobs.
- Drag the Processor icon from the top toolbar onto the canvas.
- Search for and select
ListS3.
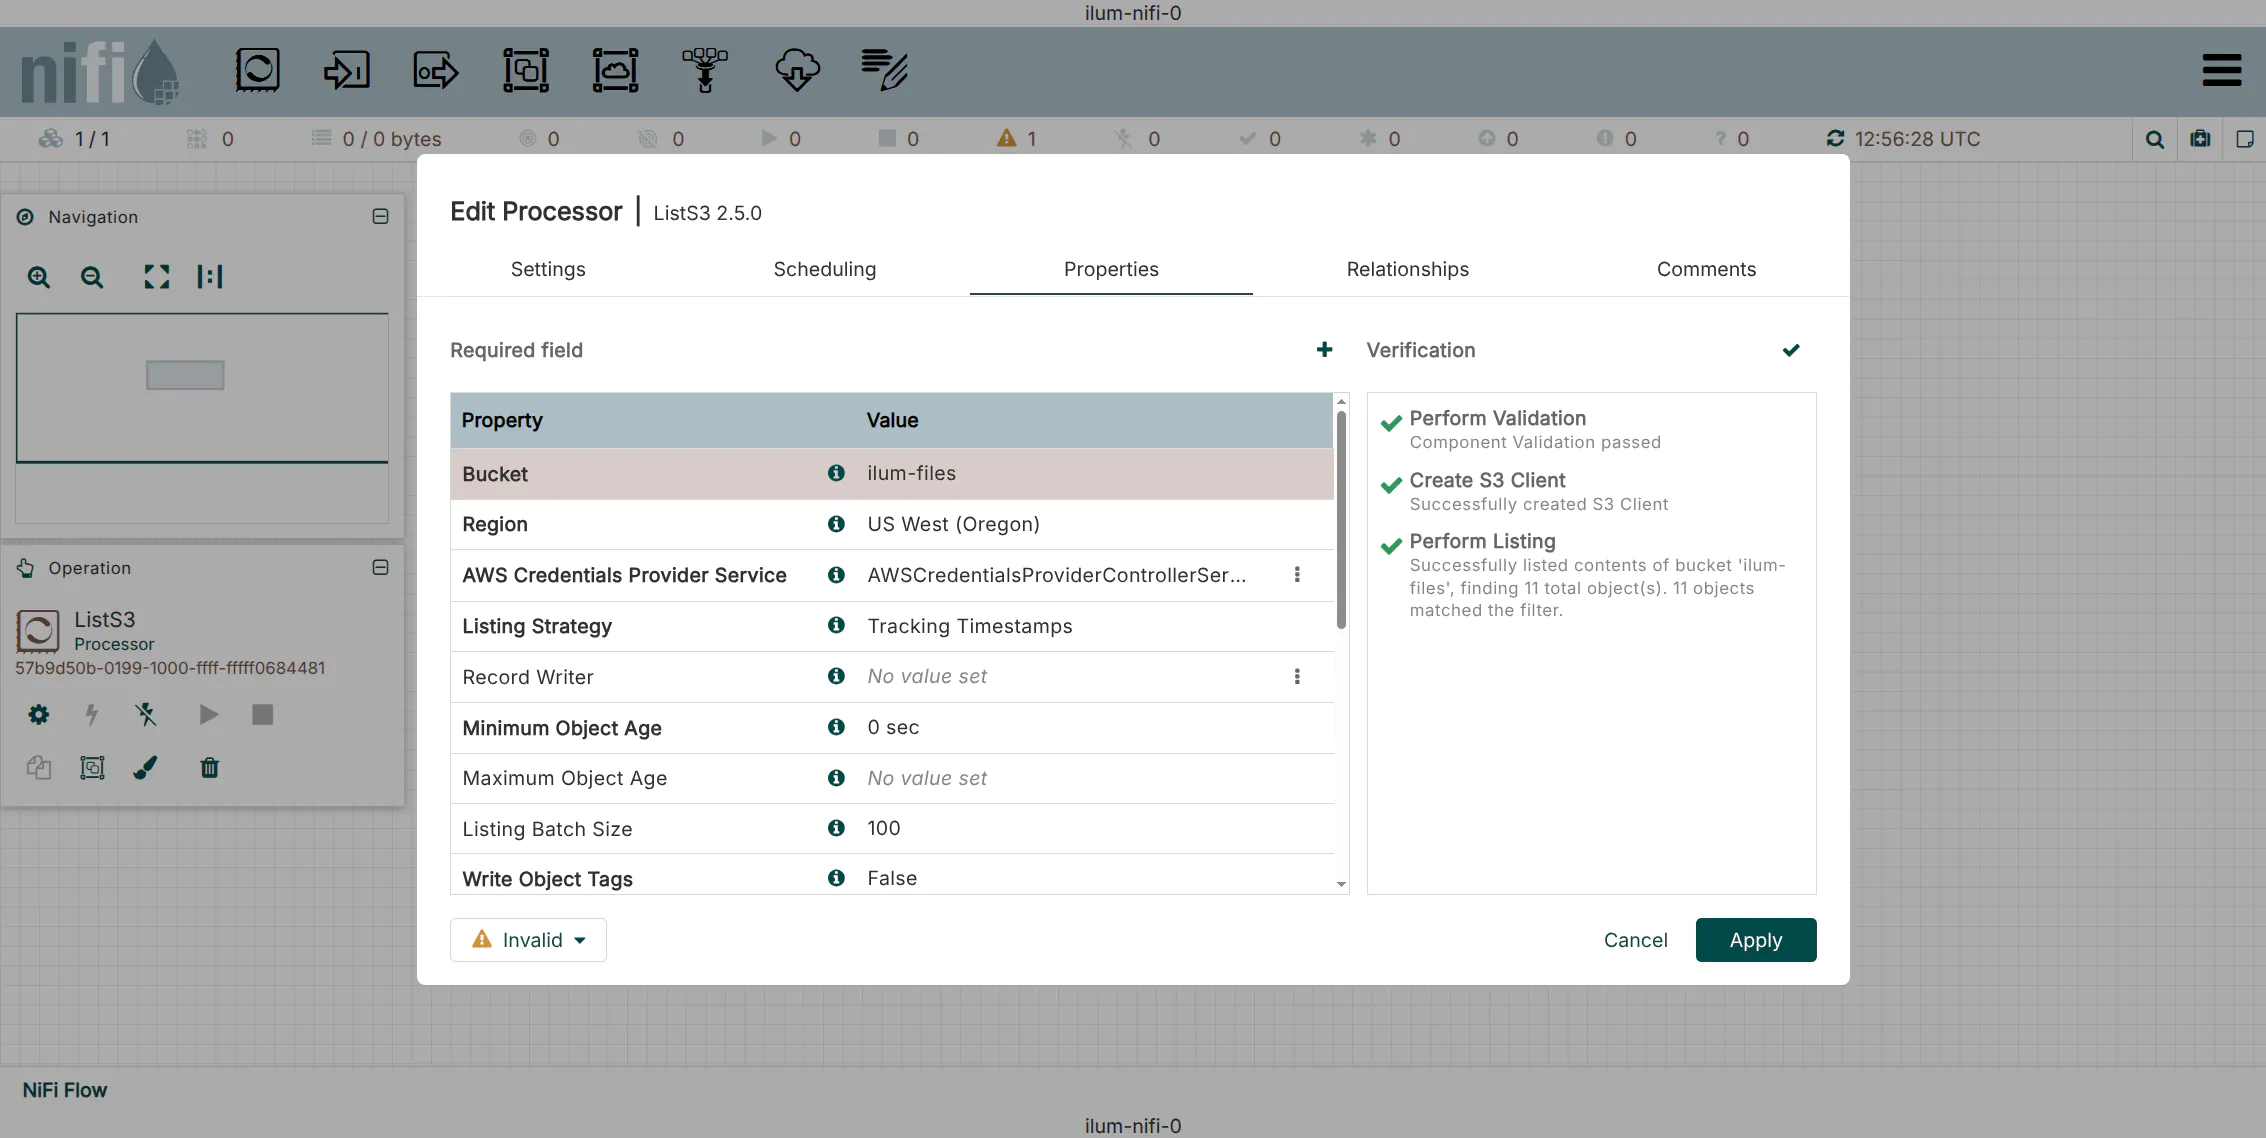
5. Configure ListS3 Properties
Right-click the processor and select Configure. Set the following properties:
| Property | Value | Description |
|---|---|---|
| Bucket | ilum-files | The target bucket to monitor. |
| AWS Credentials Provider | AWSCredentials... | Select the service created in Step 1. |
| Endpoint Override URL | http://ilum-minio:9000 | Required for local/private S3-compatible stores. |
| Region | us-east-1 | Default region for MinIO (often required even if ignored). |
Use the Verify button in the configuration window to test connectivity immediately.
Phase 2: Orchestrating Spark Jobs (NiFi & Ilum)
With the ingestion trigger ready, we will now configure the logic to transform the S3 event into an API call that launches an interactive Spark job in Ilum.
1. Create the Ilum Spark Job
First, ensure you have a registered Ilum Job capable of accepting parameters. Create a Python file (e.g., path_printer.py):
from ilum.api import IlumJob

class PathPrinter(IlumJob):
    def run(self, spark, config):
        # Extract the 'path' parameter passed from NiFi
        path = config.get("path", "unknown_path")
        print(f"PROCESSING EVENT: New file detected at {path}")
Upload this file to an Ilum Service (Group) and ensure the language is set to Python.
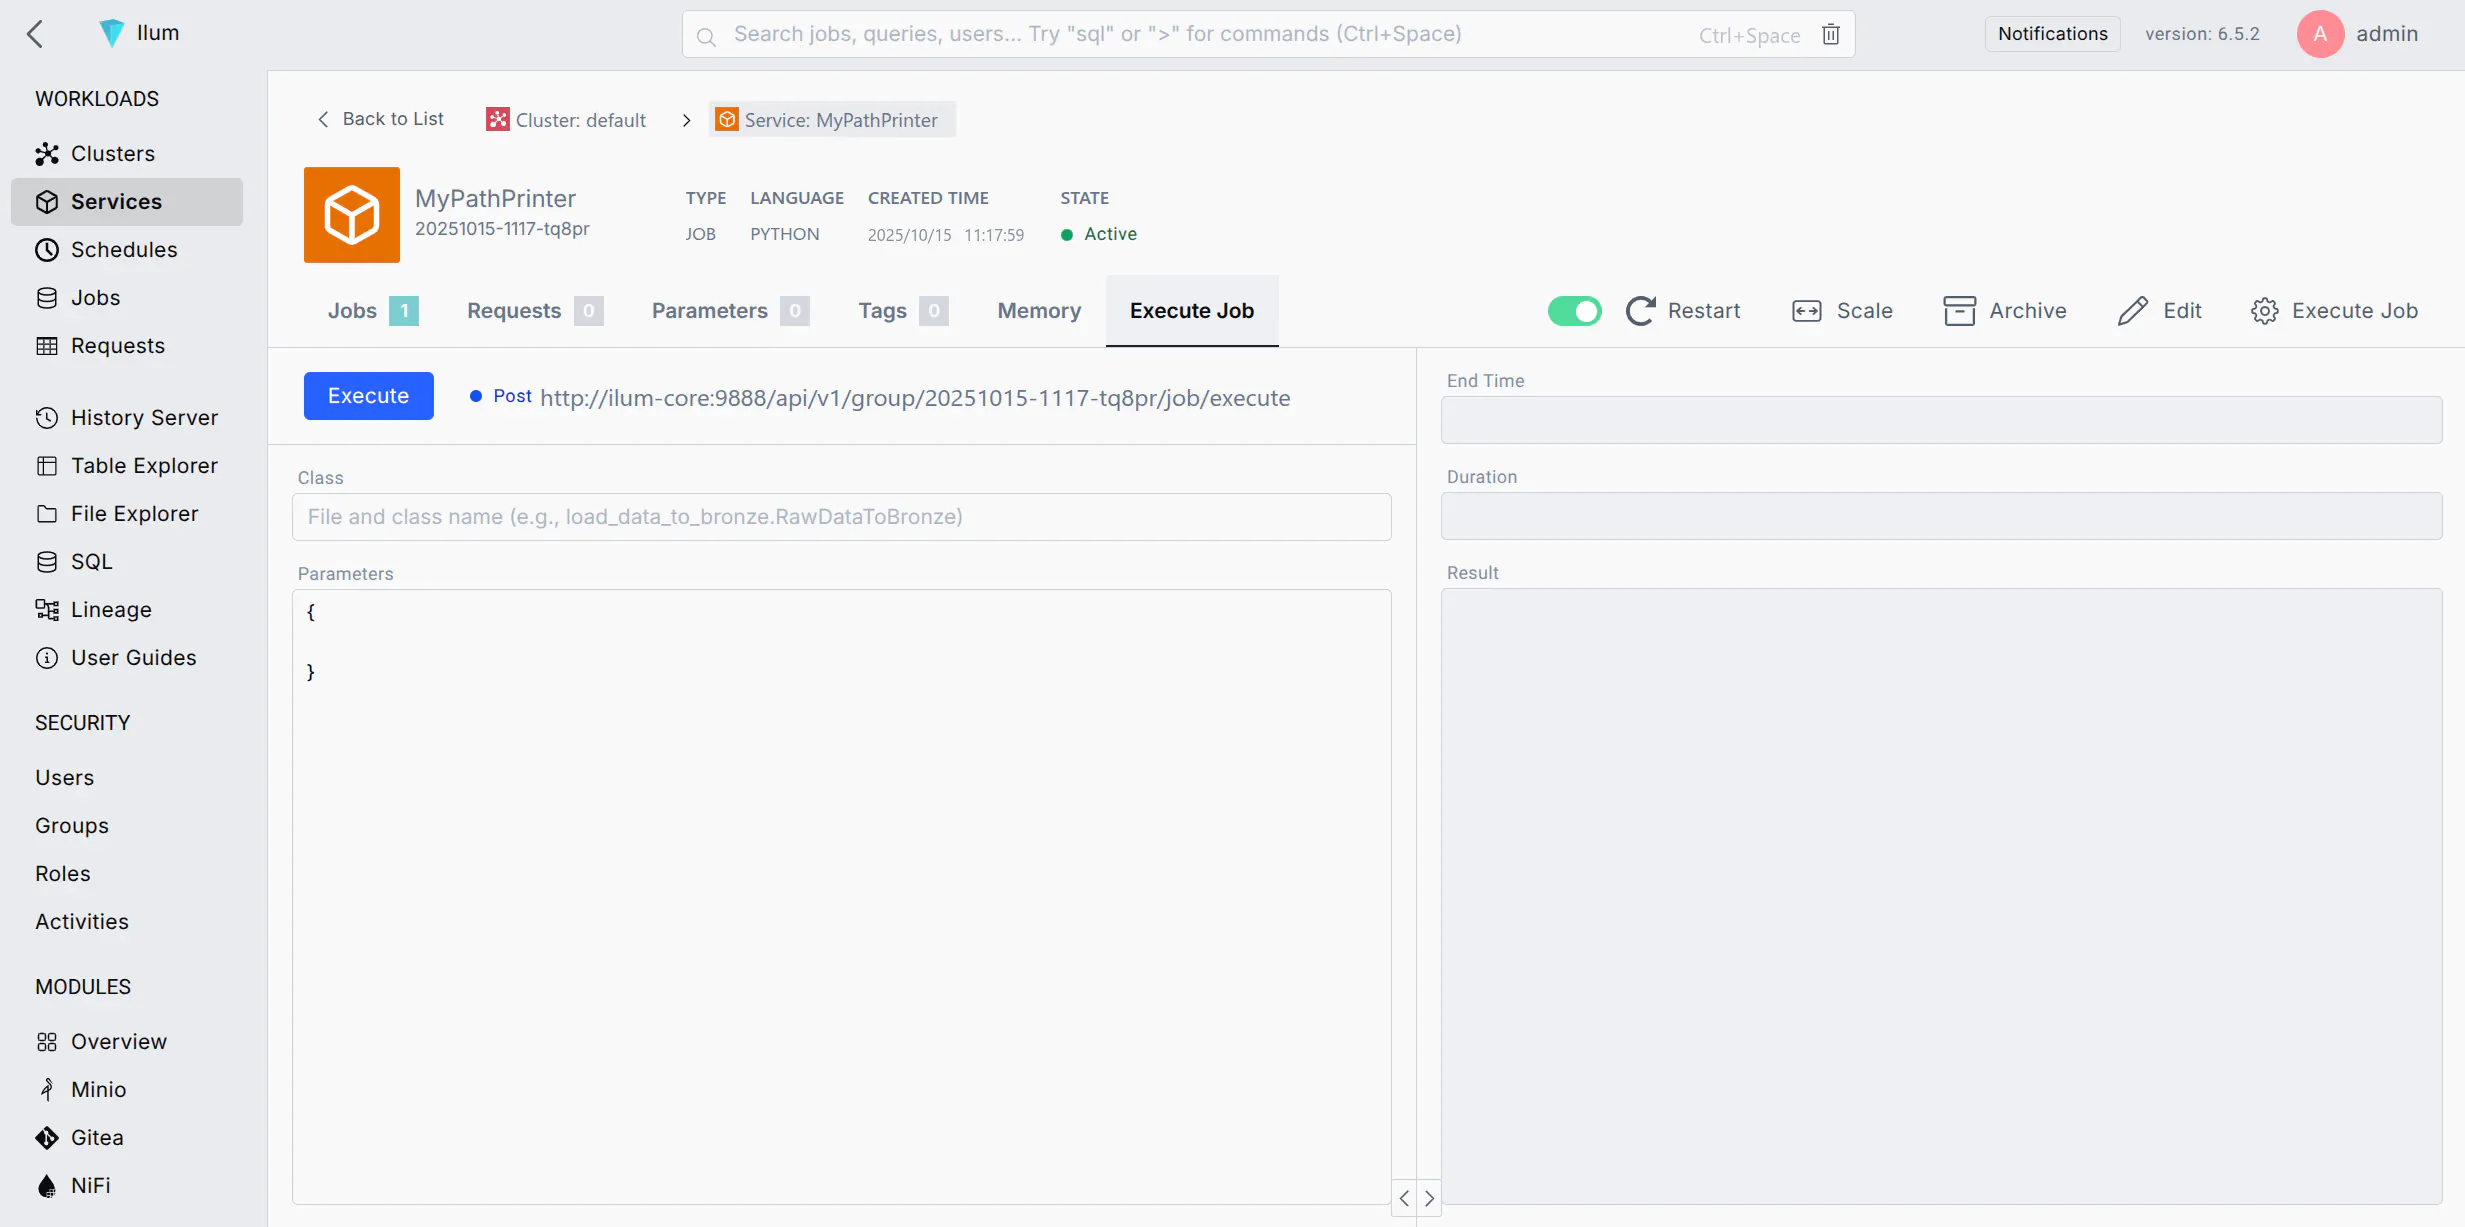
2. Retrieve the Execution Endpoint
Navigate to the Execute Job tab of your Ilum Service and copy the Job Execution URL.
Format: http://<ilum-core-host>:<port>/api/v1/group/<group-id>/job/execute
3. Dynamic Payload Construction (ReplaceText)
We need to convert the FlowFile (which currently contains S3 metadata) into a JSON payload for the Ilum API.
- Add a
ReplaceTextprocessor to the canvas. - Connect the
successrelationship ofListS3toReplaceText. - Configure the Properties:
| Property | Value | Description |
|---|---|---|
| Replacement Strategy | Always Replace | Discards input content and replaces it with our JSON. |
| Evaluation Mode | Entire text | |
| Replacement Value | See JSON below | The request body for Ilum. |
Replacement Value JSON:
{
  "type": "interactive_job_execute",
  "jobClass": "ilumJob.PathPrinter",
  "jobConfig": {
    "path": "${filename}"
  }
}
Technical Note: The syntax ${filename} is NiFi Expression Language. At runtime, NiFi resolves this variable to the actual filename of the object detected by ListS3. This allows a single generic processor to trigger unique jobs for every file.
4. Job Submission (InvokeHTTP)
The InvokeHTTP processor acts as the REST client.
- Add an
InvokeHTTPprocessor. - Connect
successfromReplaceTexttoInvokeHTTP. - Configure the Properties:
| Property | Value | Description |
|---|---|---|
| HTTP Method | POST | |
| Remote URL | http://ilum-core:9888... | Paste the URL from Step 2. |
| Content-Type | application/json | Critical for the API to parse the body. |
| Connection Timeout | 5 secs | Fail fast if Ilum is unreachable. |
| Read Timeout | 15 secs | Wait for acknowledgment of job submission. |
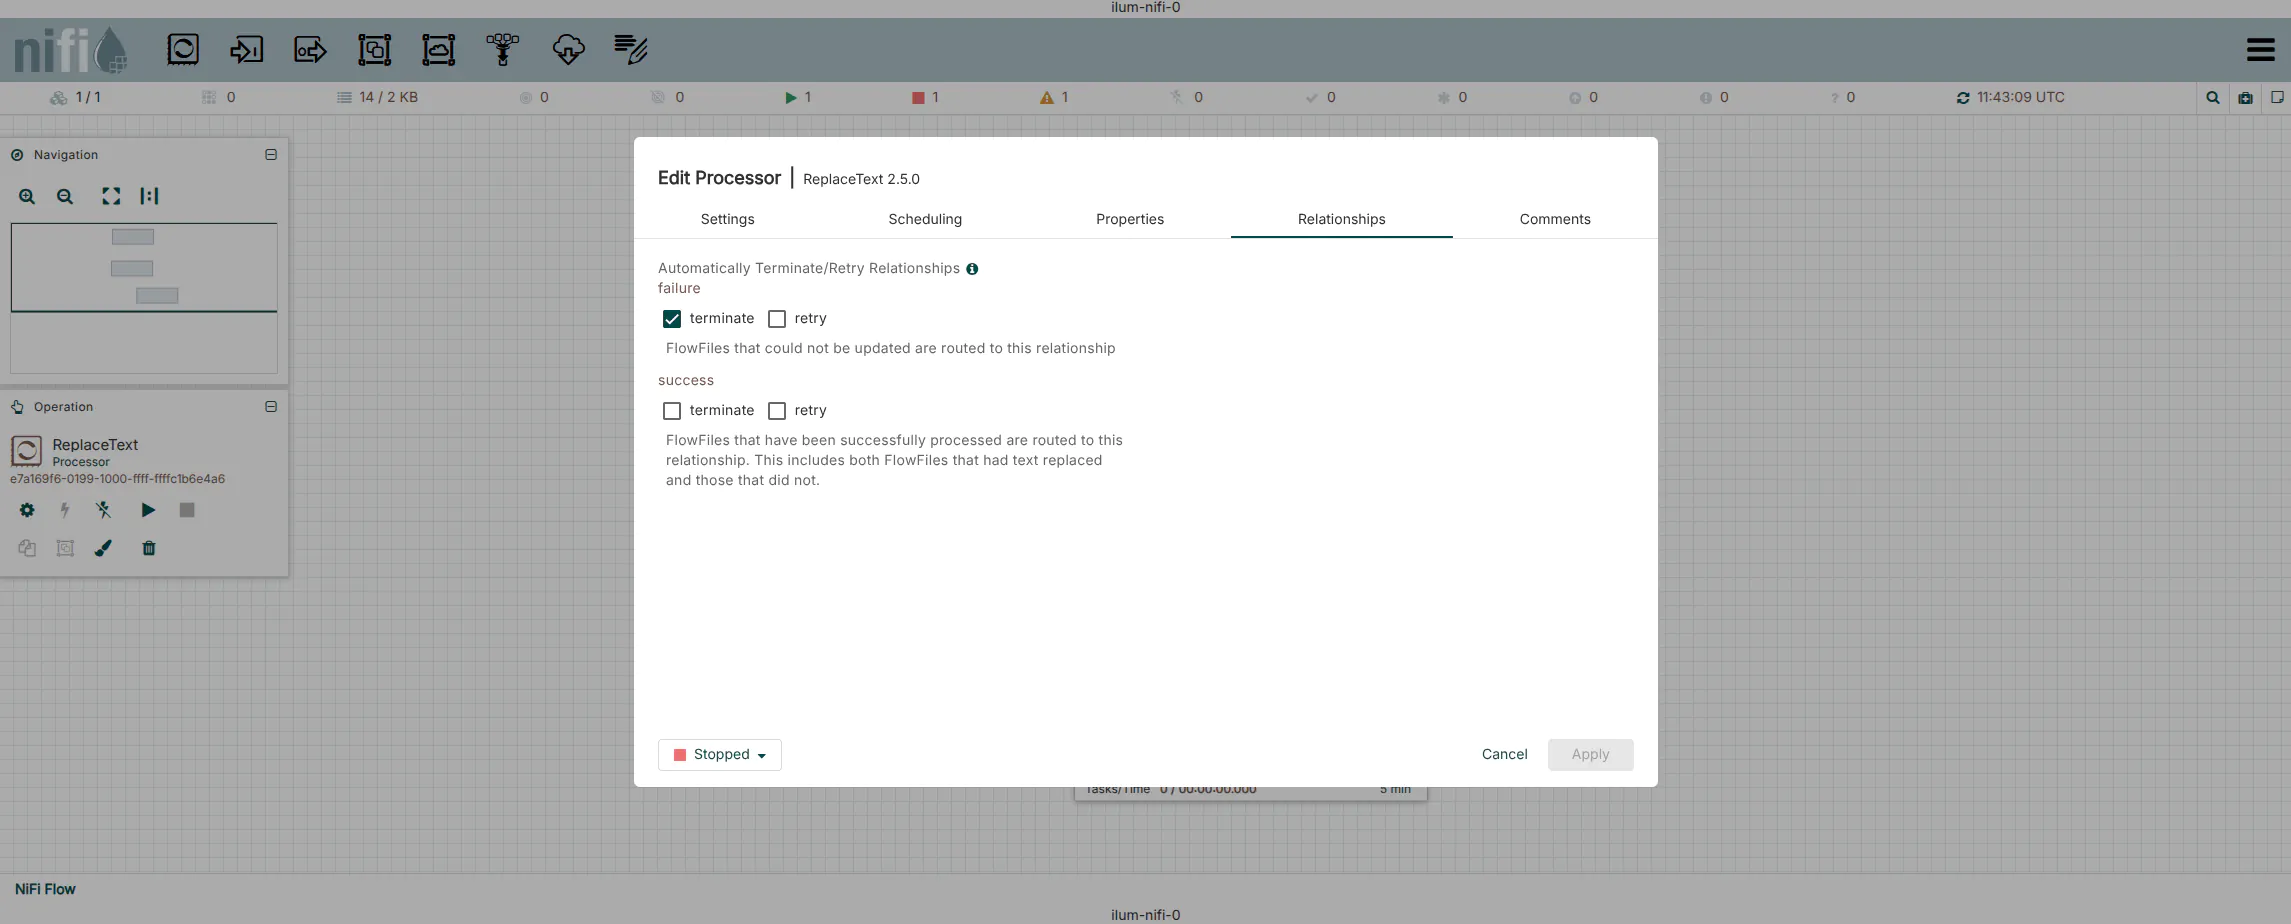
5. Finalize the Flow
- Route Relationships:
- Response: This relationship contains the JSON response from Ilum (e.g., Job ID). Route this to a
LogAttributeprocessor or valid downstream flow. - Retry/Failure: Route these back to the processor (loop) or to a failure handling path.
- Original: Auto-terminate if not needed.
- Response: This relationship contains the JSON response from Ilum (e.g., Job ID). Route this to a
- Start the processors.

Advanced Configuration
Error Handling & Reliability
In production environments, network blips or temporary service unavailability can occur. Do not simply auto-terminate failure relationships.
- Retry Policies: In
InvokeHTTP, set Retry on Response Status Codes to500-599. - Dead Letter Queues: Route the
failureandNo Retryrelationships to aPutFileor separateLogAttributeprocessor to archive failed requests for manual inspection.
Security Integration
If your Ilum instance is secured (using JWT or OAuth), you must include authentication headers in the InvokeHTTP processor.
- Static Token: Add a dynamic property to
InvokeHTTPnamedAuthorizationwith valueBearer <your-token>. - Dynamic Token: Use a separate flow to fetch a token from your IDP, store it in a distributed map cache, and retrieve it before the
InvokeHTTPcall.
Performance & Backpressure
When processing high volumes of data (thousands of files per minute), NiFi might overwhelm the Ilum submission API.
- Backpressure: Right-click the connection between
ReplaceTextandInvokeHTTP. Configure Back Pressure Object Threshold (e.g., 1000). If the queue fills up,ListS3will pause automatically. - Concurrent Tasks: In the
InvokeHTTPscheduling tab, increase Concurrent Tasks (e.g., 2-4) to submit multiple jobs in parallel, increasing throughput.
Troubleshooting
Verification
If the flow is configured correctly, checking the Data Provenance in NiFi will show SEND events to the Ilum URL.
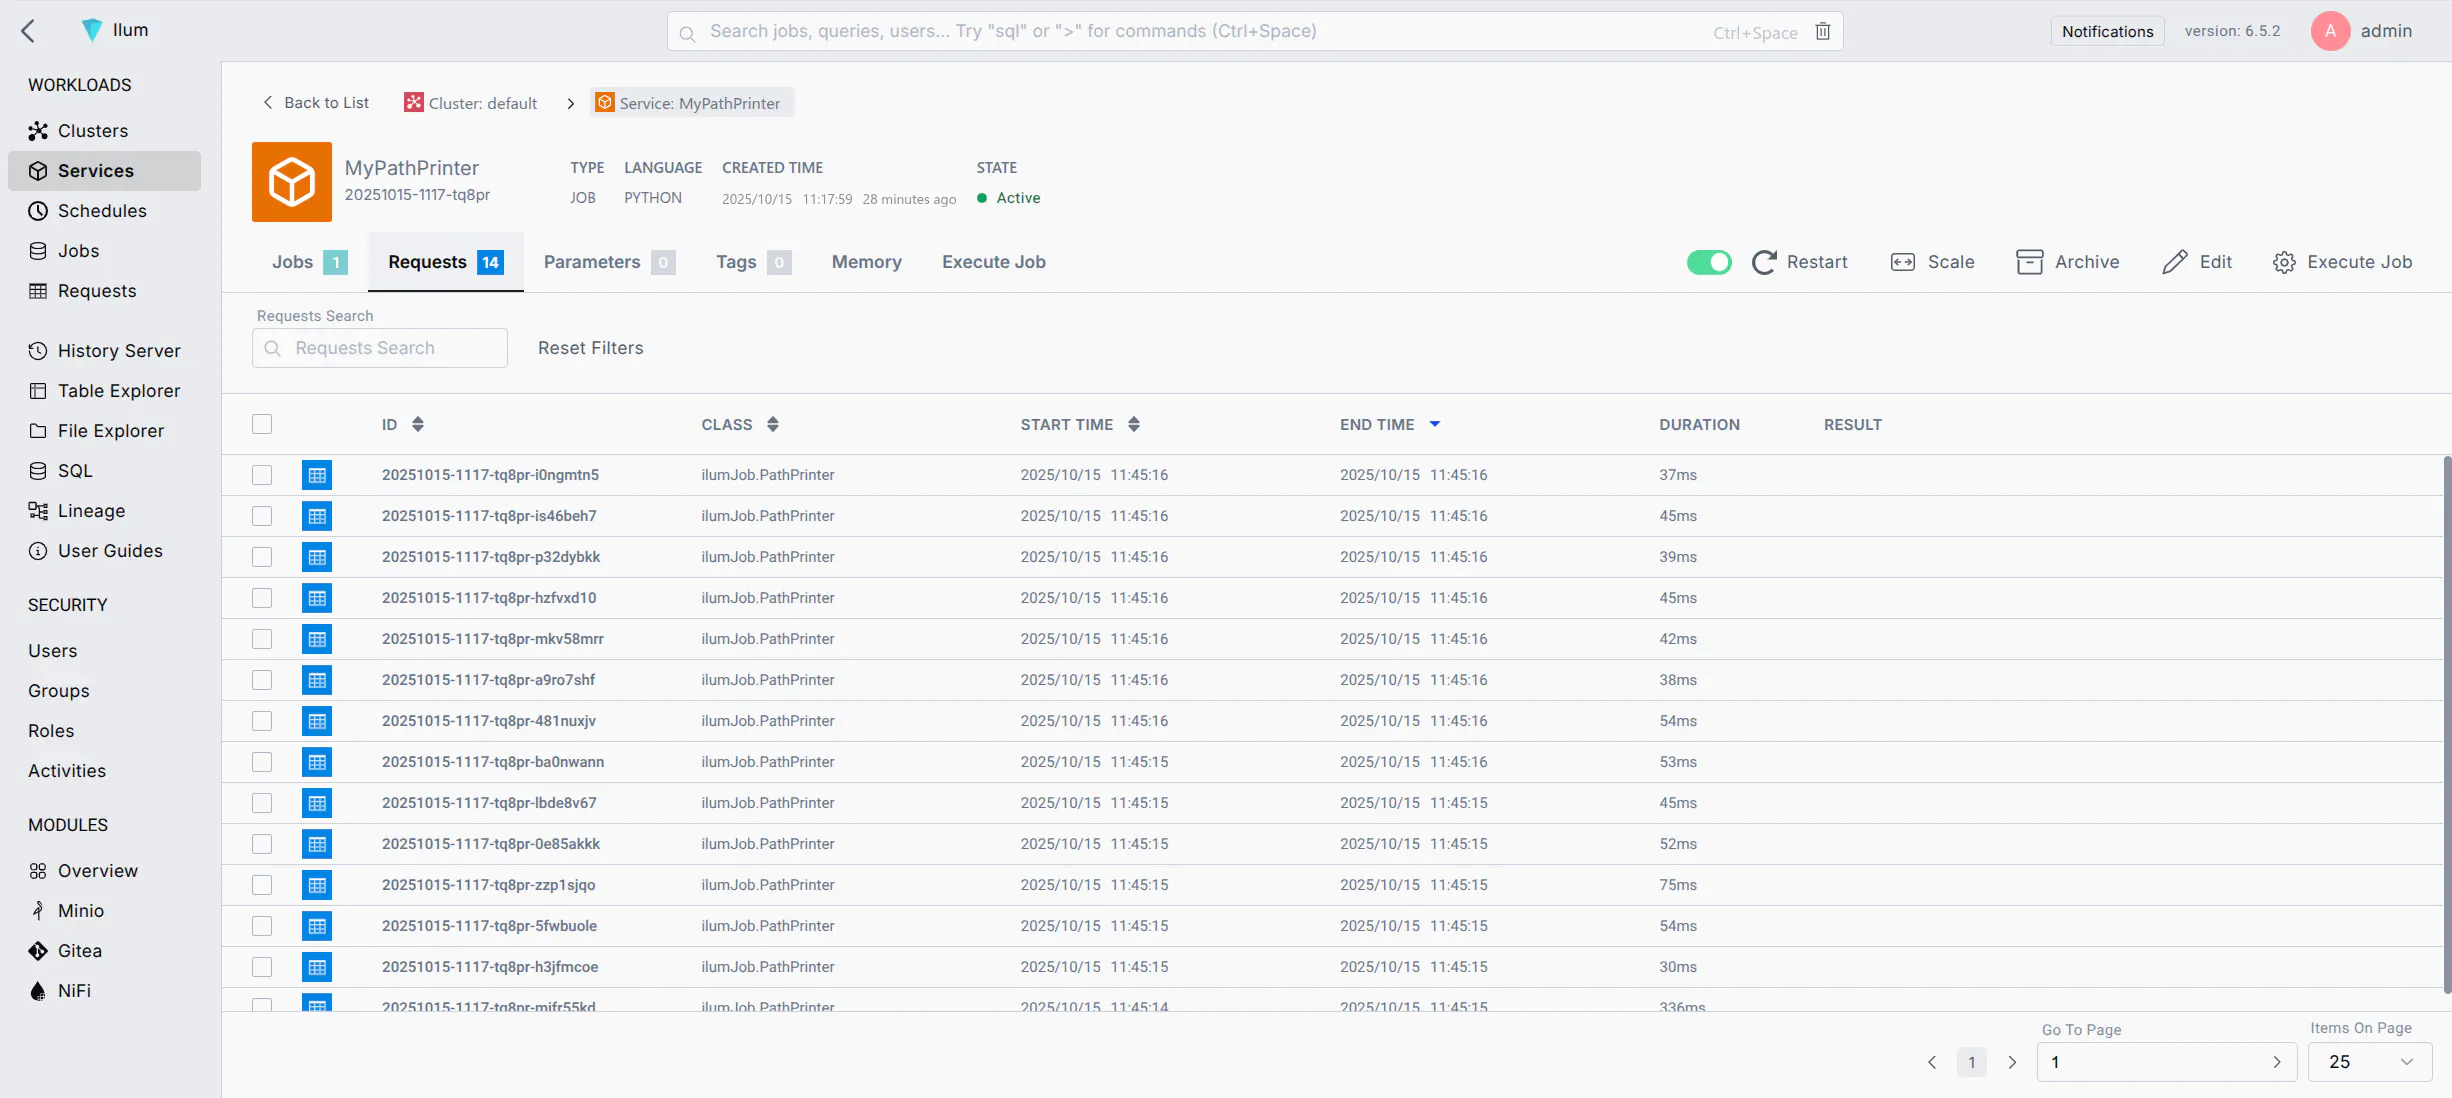
Inside Ilum, navigate to the Service's Job Logs to confirm execution:

Common Issues
- 400 Bad Request: Usually indicates invalid JSON syntax in
ReplaceText. Verify quotes and brackets. - 404 Not Found: Check the Remote URL. Ensure the Group ID matches exactly.
- Connection Refused: Verify the network policy allows traffic from the NiFi pod/host to the Ilum Core pod/host on port 9888.